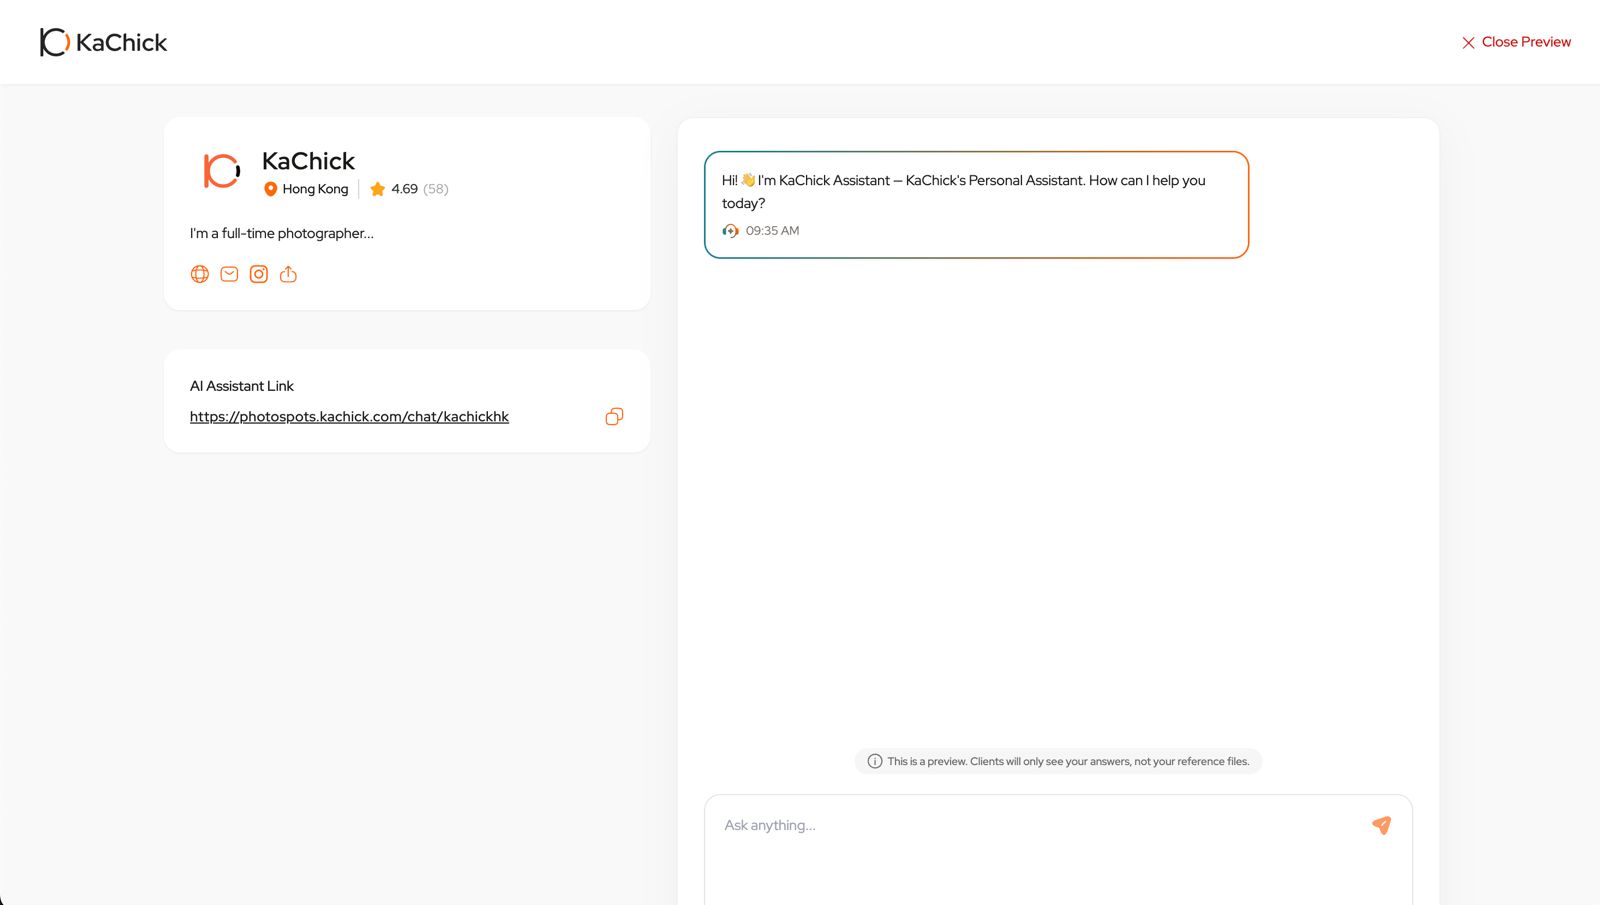
Setting up your KaChick AI Assistant only takes a few minutes. Once configured, your assistant can answer common client questions, provide information about your services, and help collect enquiry details while you're busy shooting, editing, or traveling.
In this guide, we'll walk through the setup process from creating your assistant to adding knowledge and responses.
Try a Live KaChick AI Assistant First
Not sure what a KaChick AI Assistant looks like?
Before creating your own assistant, try chatting with one yourself:
KaChick Travel AI Assistant
https://photospots.kachick.com/chat/kachick-travel
Try asking questions such as:
Can you recommend photo locations in Japan?
What should I prepare for a photoshoot?
How does the booking process work?
What photography services are available?
This is a live AI Assistant built on KaChick, giving you a real example of the experience your clients can have when interacting with your assistant.
Step 1: Log In to Your Dashboard
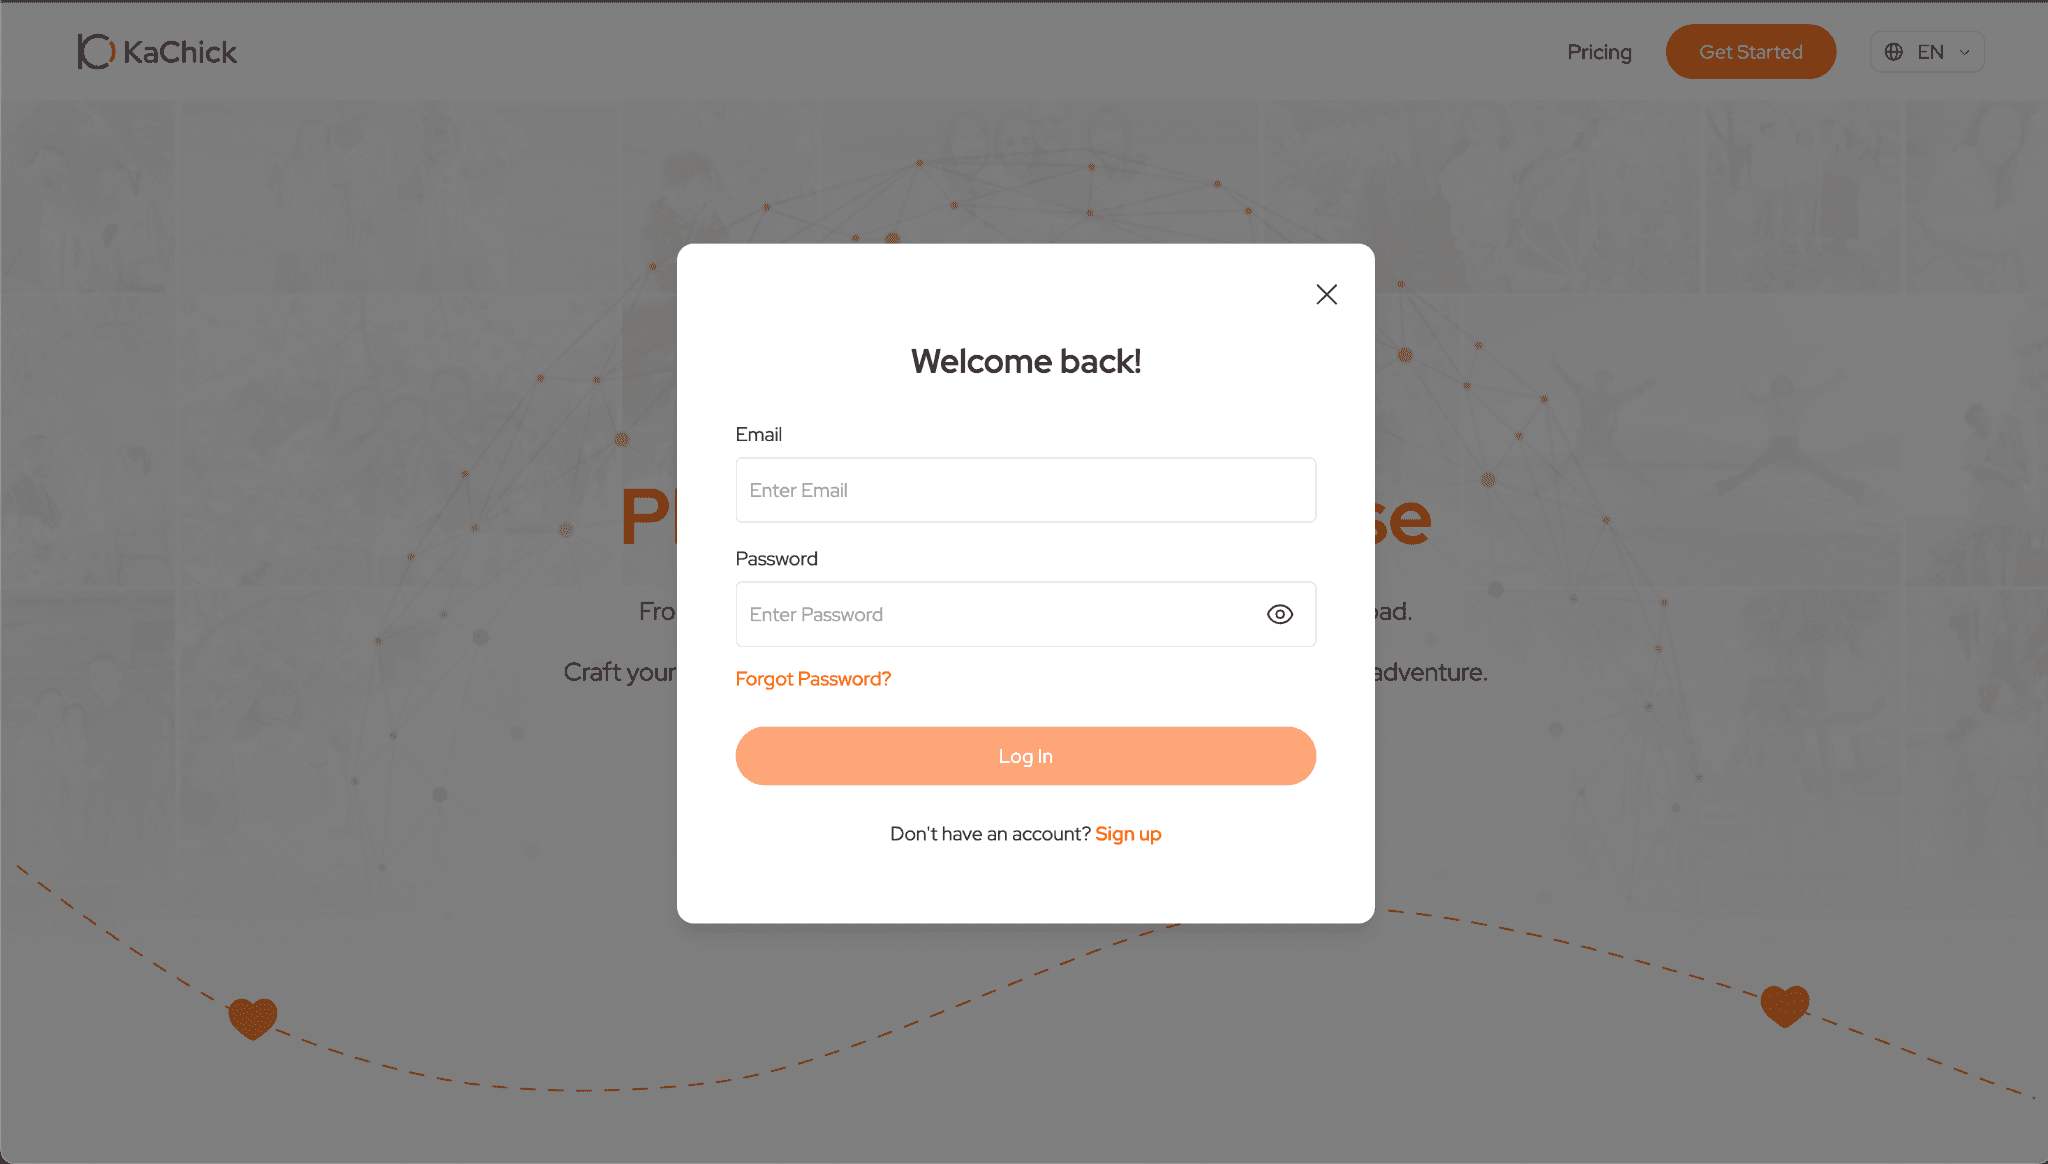
Start by accessing the KaChick Photographer Dashboard:
https://photospots.kachick.com/photographer/get-started/
If you don't have an account yet, create one and complete your profile before continuing.
Step 2: Go to "My Assistant"
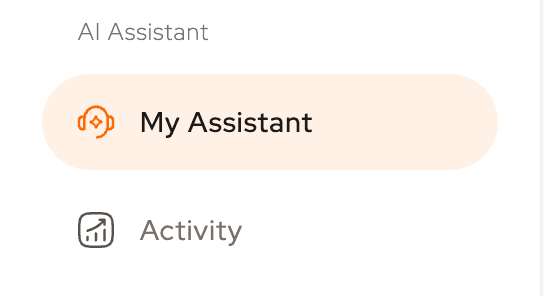
Once logged in, navigate to My Assistant from your dashboard menu.
This is where you'll create and manage your AI Assistant.
Step 3: Name Your AI Assistant
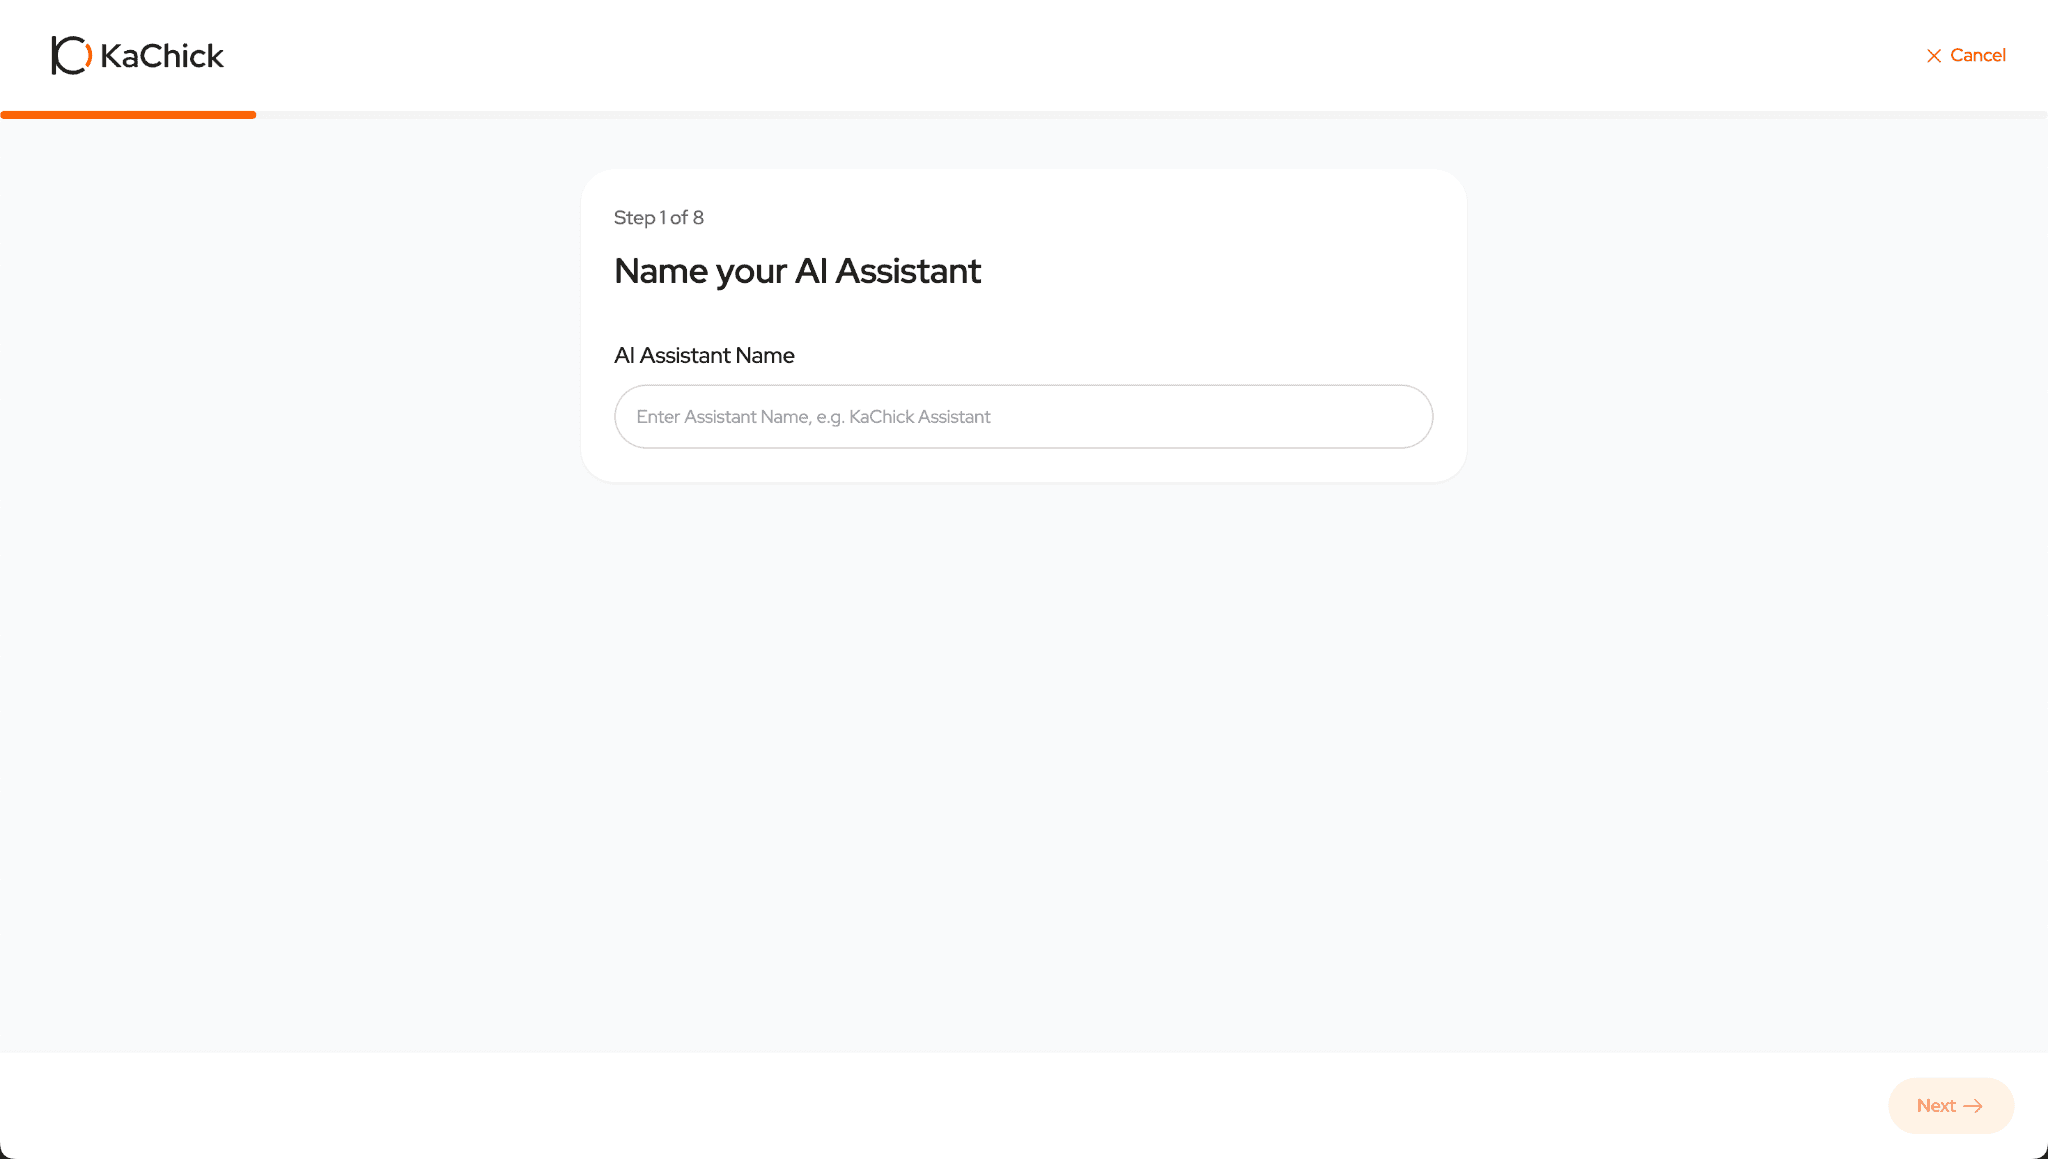
Give your assistant a name that reflects your photography business.
Examples:
Sarah Photography Assistant
Yuki's Family Photography Assistant
Wedding Photography Concierge
Kaori Photo Guide
The name helps clients recognize that the assistant is connected to your business.
Step 4: Add Reference Materials
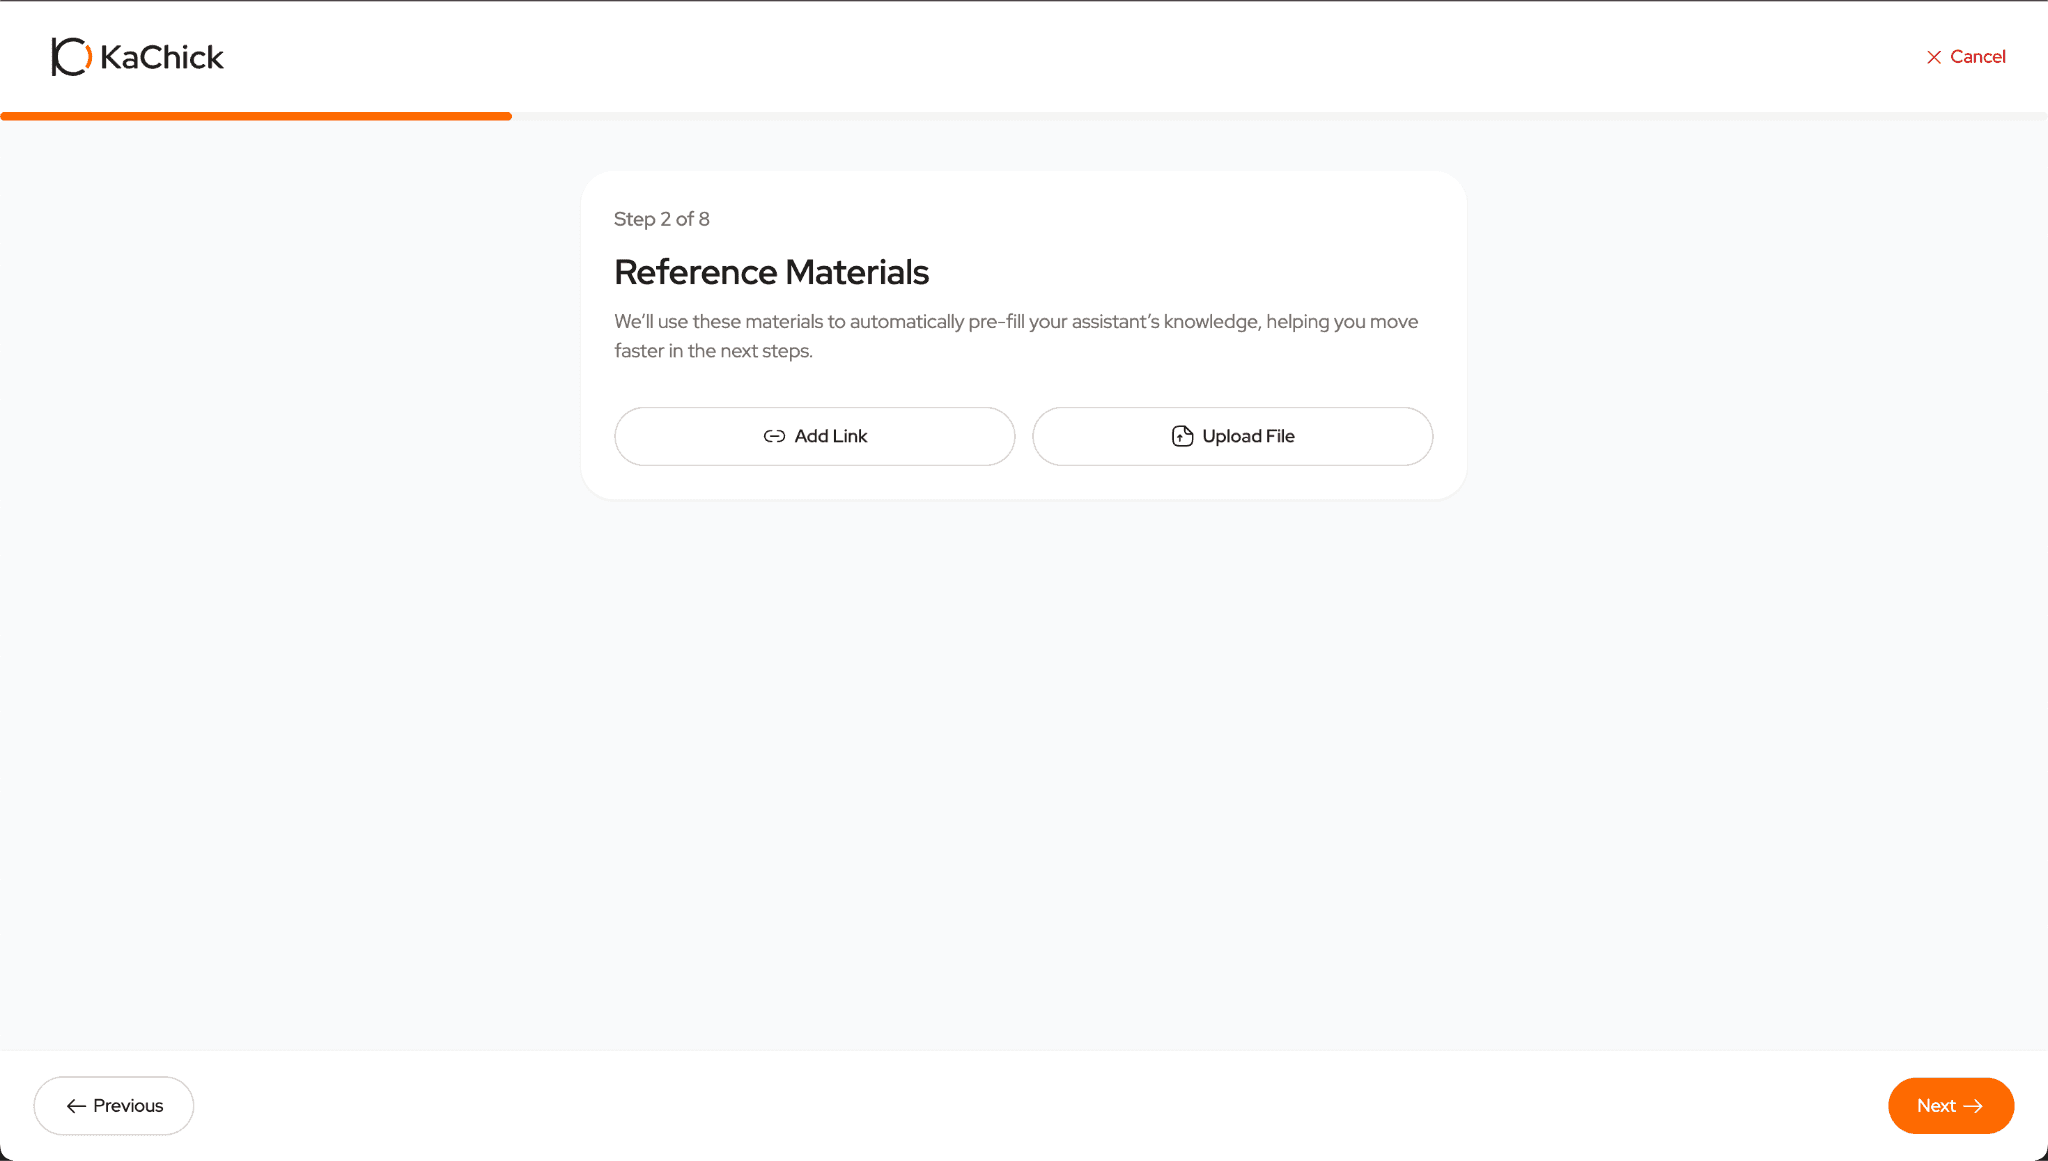
Your AI Assistant learns from the information you provide.
Under the assistant setup page, add reference materials using either website links or uploaded files.
Add Website Links
You can provide links to:
Your photography website
Package pages
Pricing pages
Portfolio pages
FAQ pages
Blog posts
Upload Files
You can upload documents containing information about your business, such as:
Pricing guides
Package brochures
Frequently asked questions
Session preparation guides
Photography service information
Knowledge databases you've created
The more detailed and accurate your information is, the better your assistant can answer client questions.
Step 5: Add Your Assistant Responses
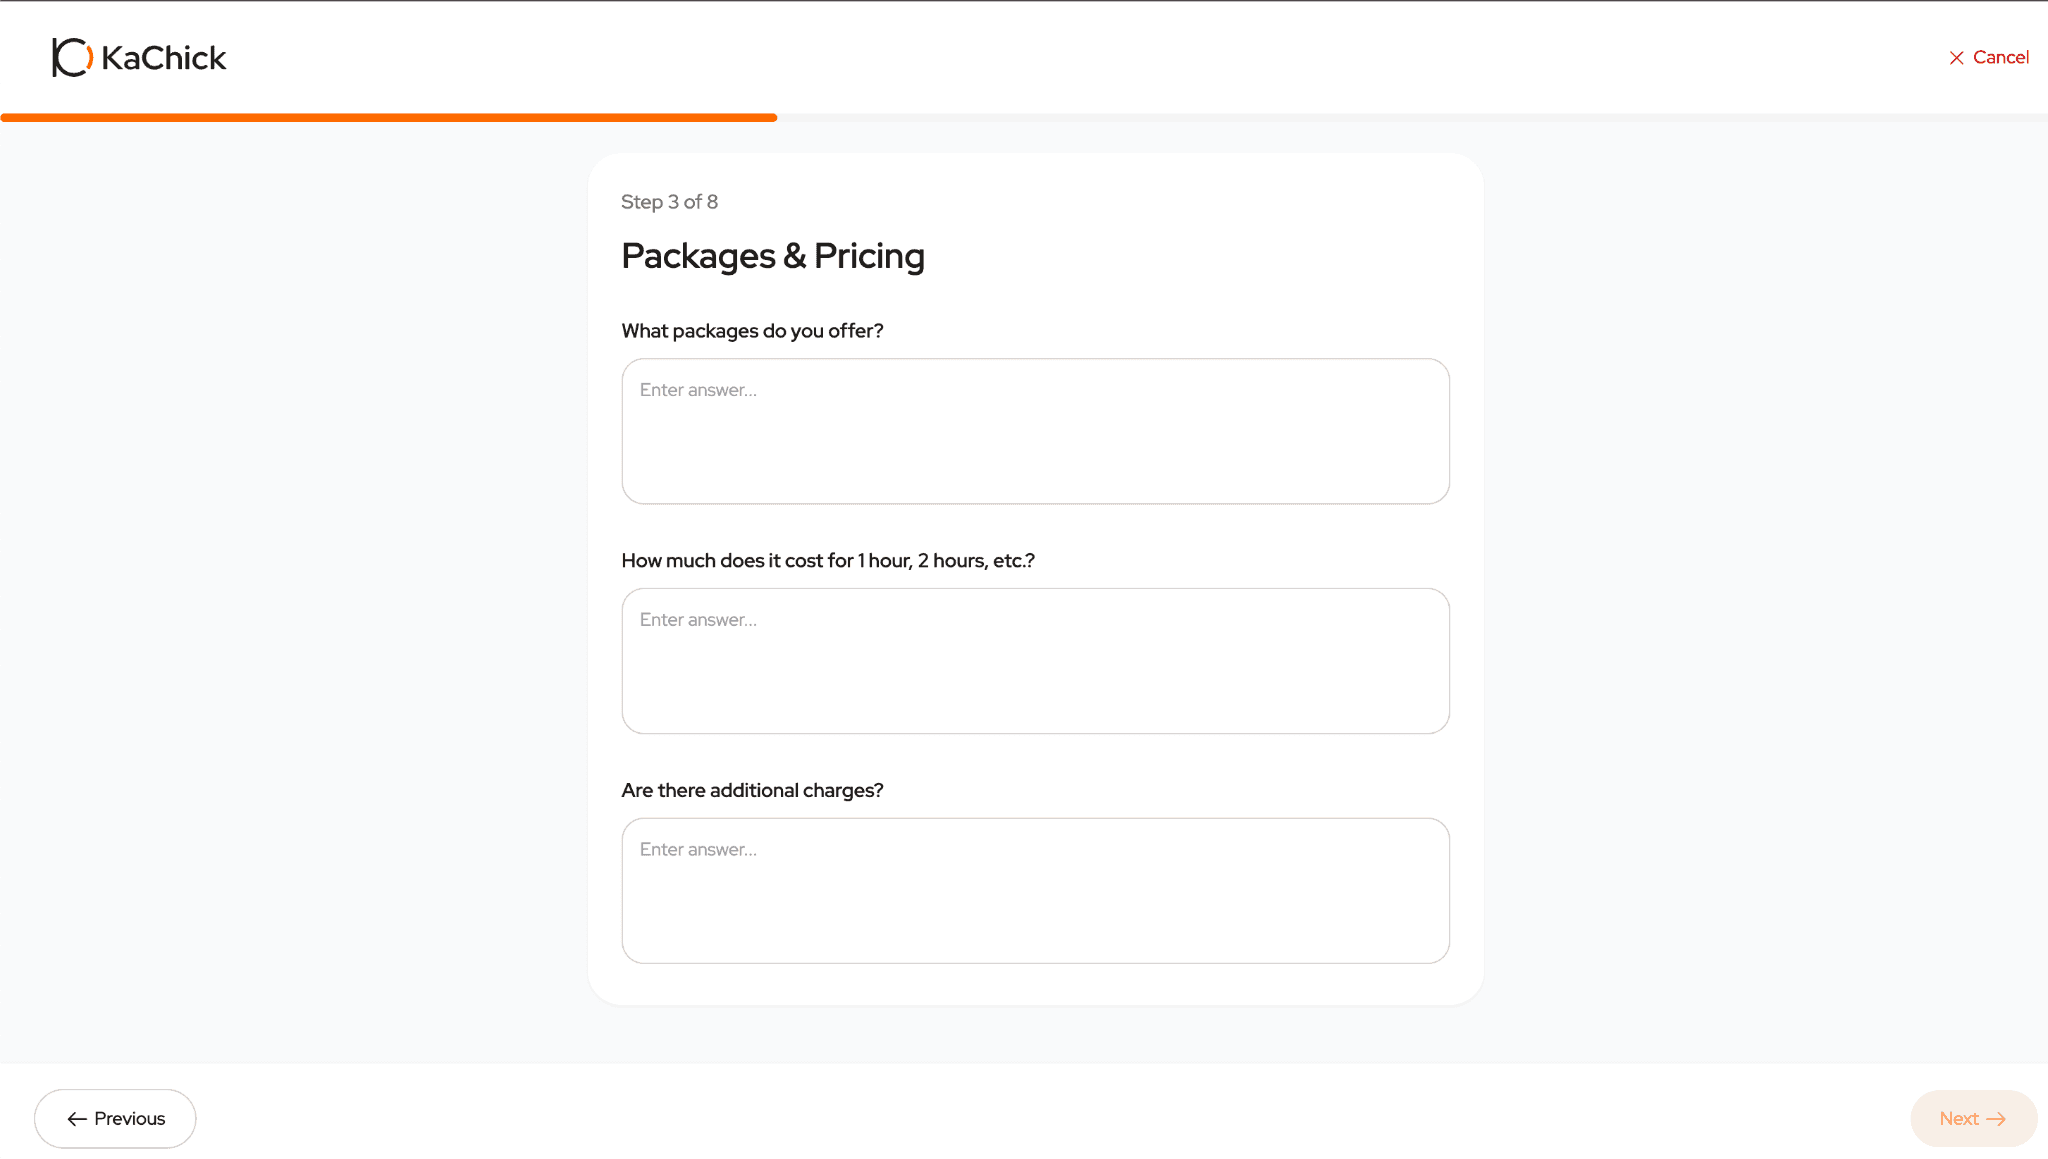
Next, teach your assistant how to answer common client questions.
Package & Pricing Information
Examples:
What packages do you offer?
How much does it cost for a 1-hour session?
How much does it cost for a 2-hour session?
Are there additional charges?
Do you charge travel fees?
Availability & Scheduling
Examples:
How do I check your availability?
Can I reschedule my session?
What is your cancellation policy?
How far in advance should I book?
Pricing & Payment Information
Examples:
What payment methods do you accept?
When should I pay?
Is a deposit required?
Can I pay in installments?
Location & Session Conditions
Examples:
Where can the photoshoot take place?
Can you recommend locations?
What happens if the weather is bad?
Do you travel outside your area?
We recommend including at least 3–5 location recommendations if applicable.
Photo Delivery & Editing
Examples:
How will photos be delivered?
How long will it take to receive the photos?
Are the photos edited?
Can I request additional edits?
Additional Services & Recommendations
Examples:
Do you offer makeup or hair styling?
Can you provide inspiration or reference photos?
Do you have recommendations for the session?
Can you recommend florists, stylists, or proposal planners?
The more real-world questions you add, the more useful your assistant becomes.
Step 6: Your Assistant Is Ready
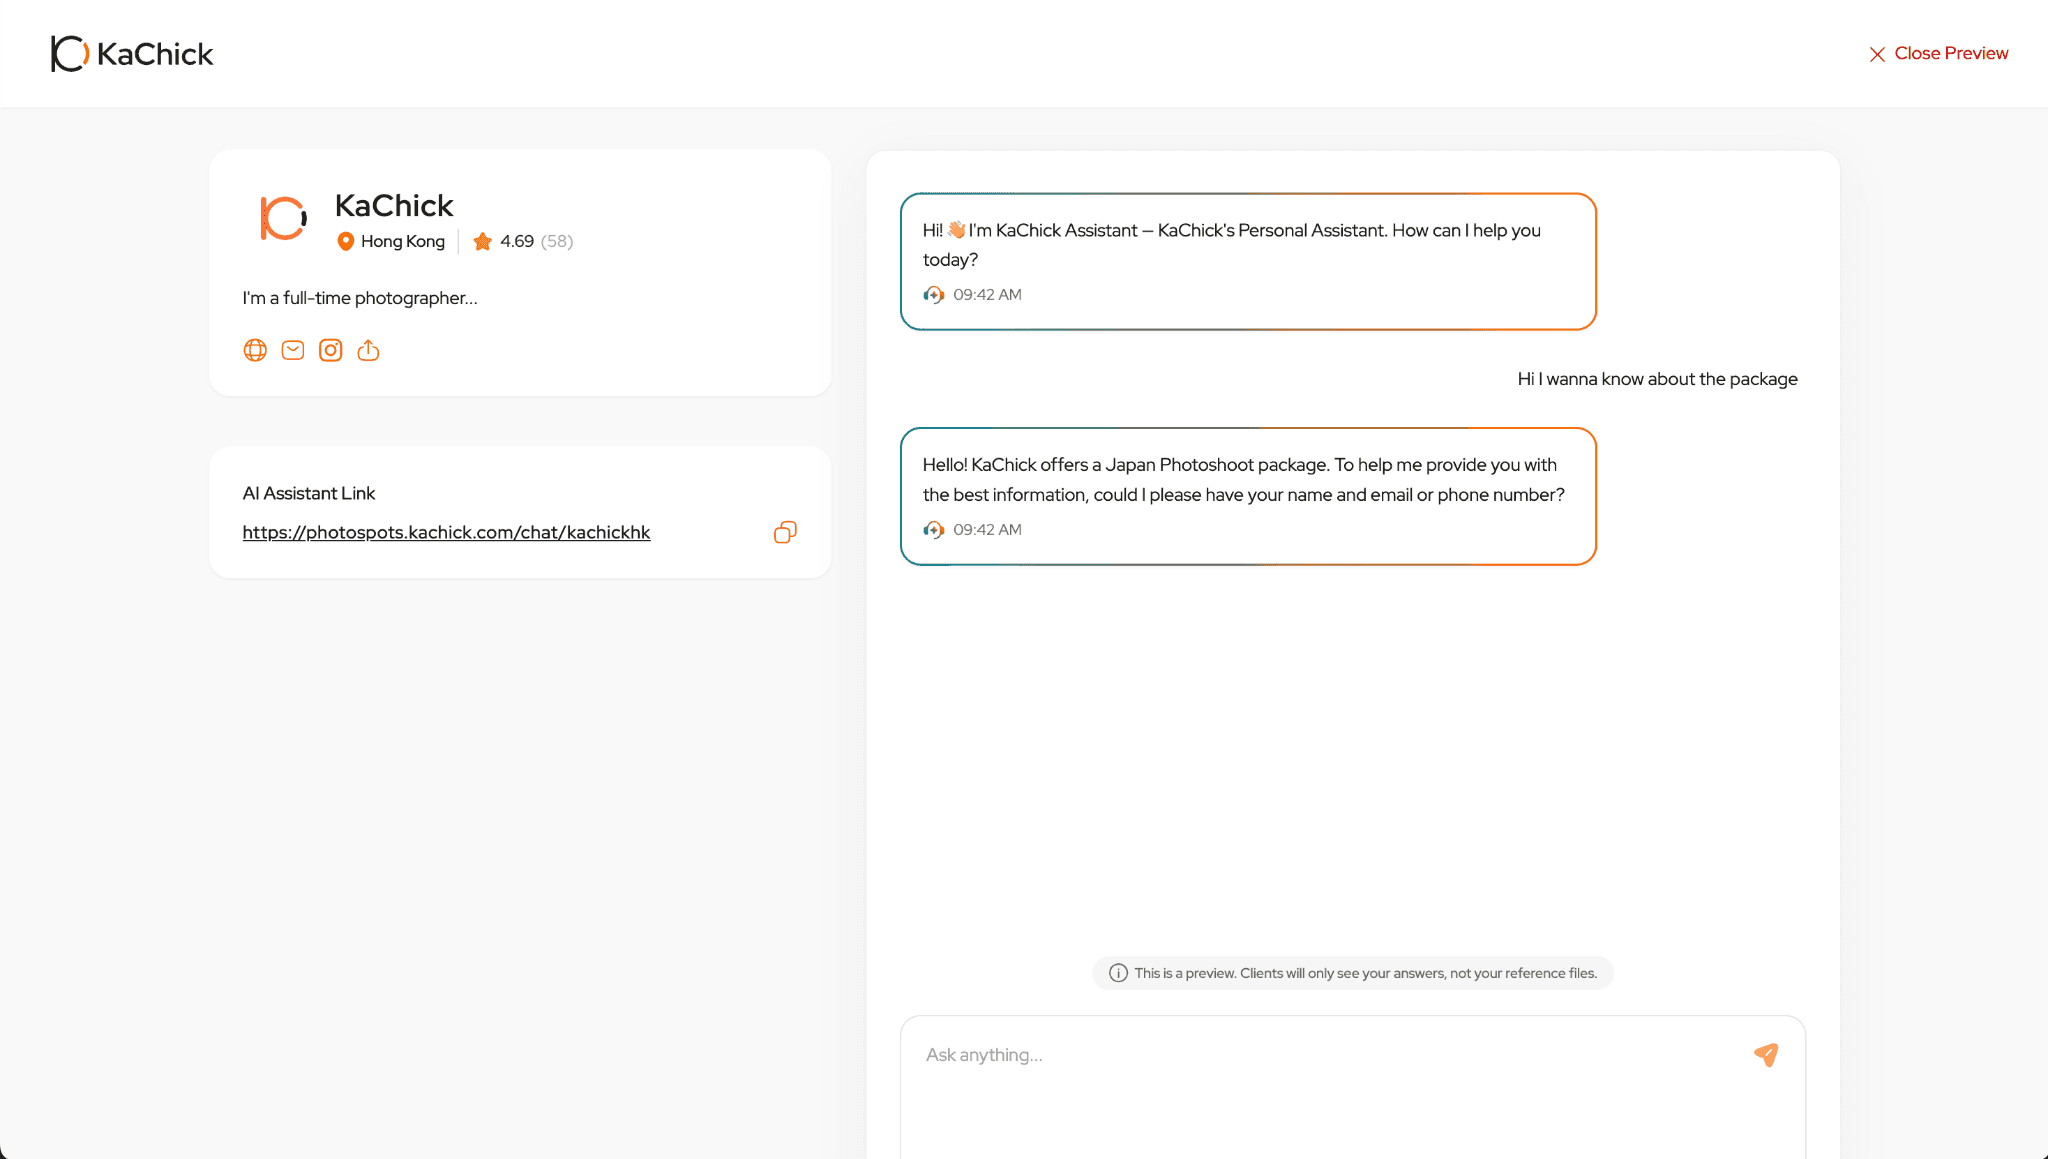
Once you've added your knowledge and responses, your AI Assistant is ready to start helping clients.
Take a few minutes to test it by asking common client questions and reviewing the answers.
You can continue improving the assistant over time as new questions arise from your clients.
Managing Your Assistant After Setup
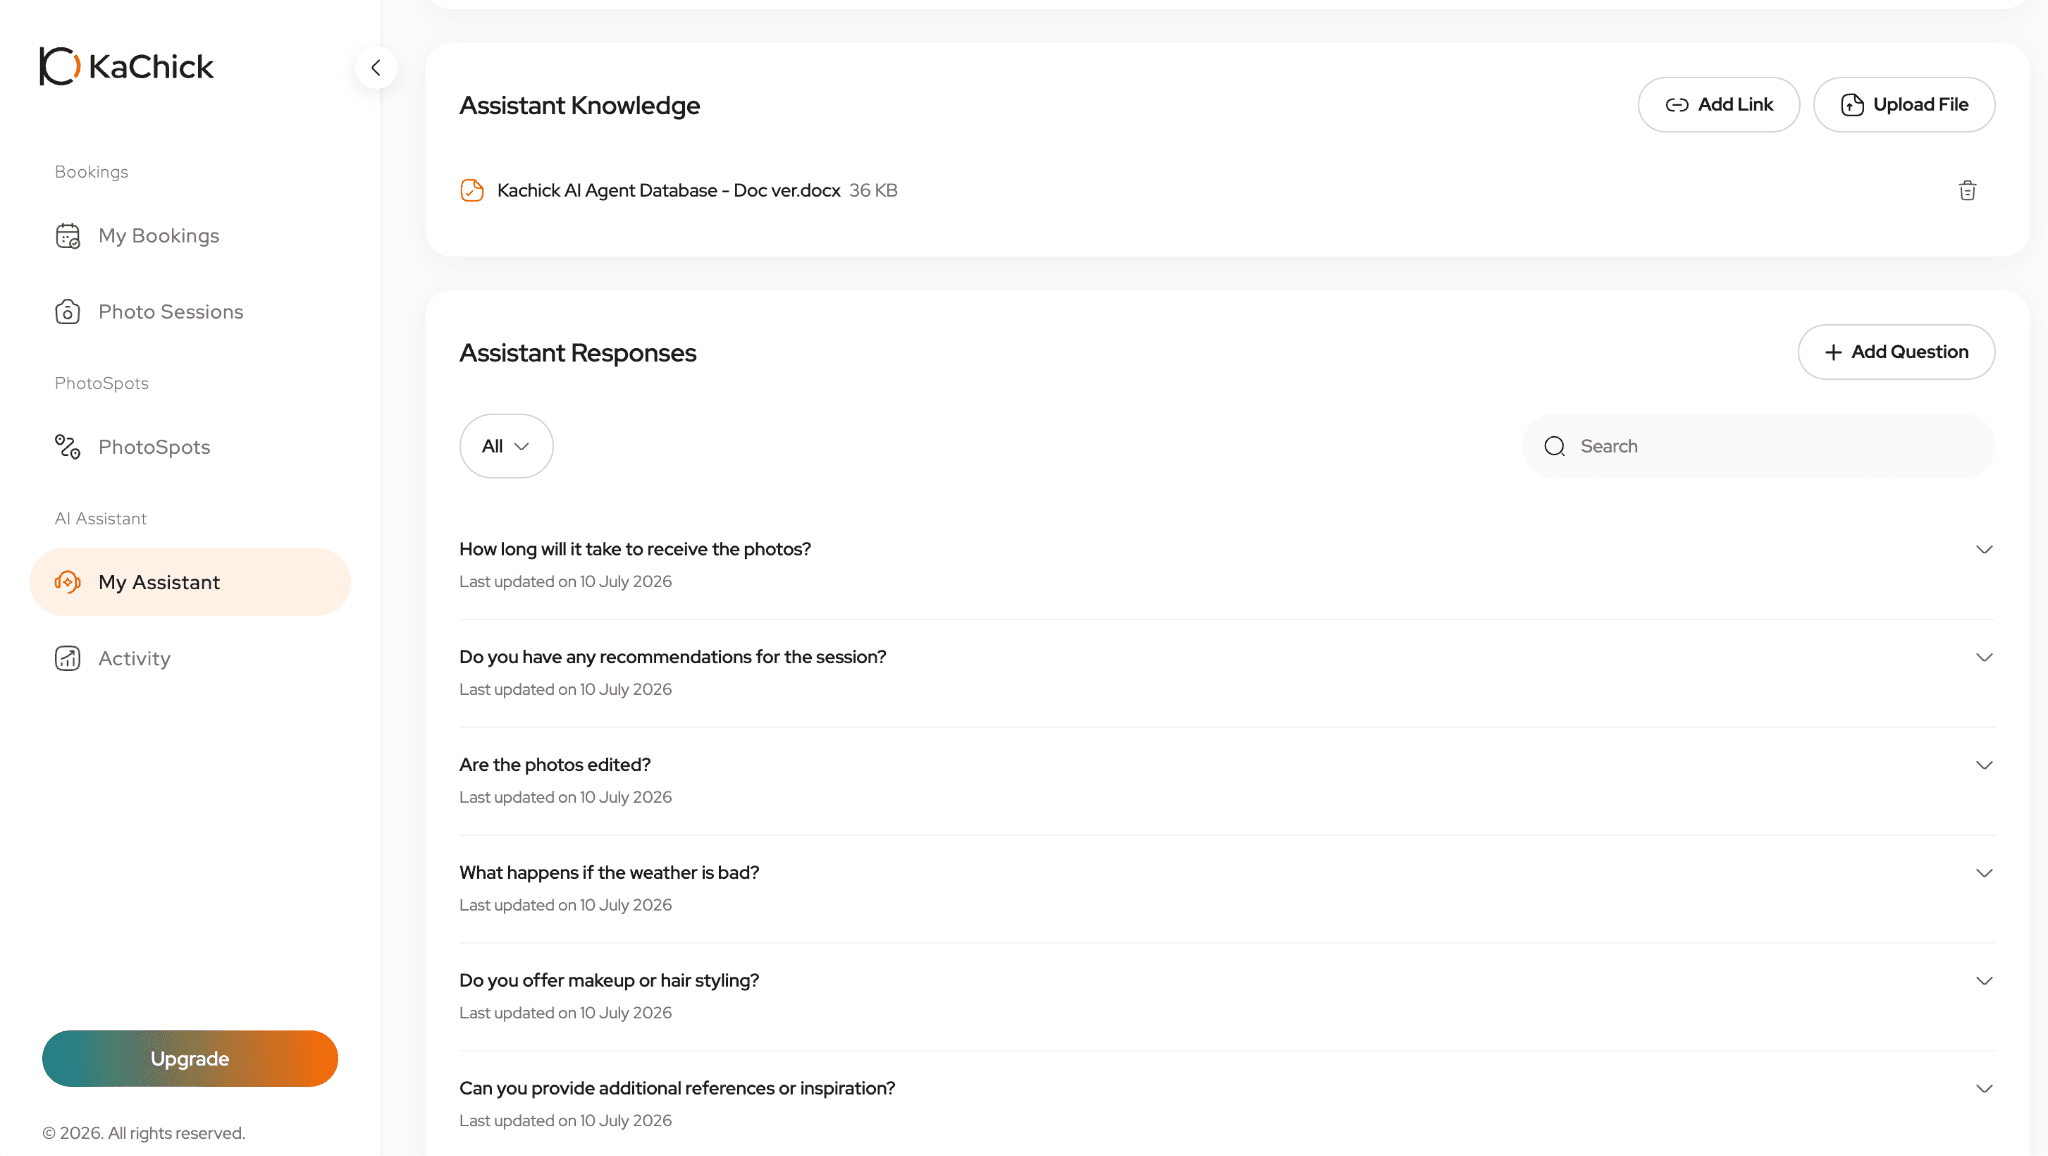
Your business information will change over time, so it's important to keep your assistant updated.
Assistant Knowledge
Inside your dashboard, go to Assistant Knowledge to:
Add new website links
Upload additional files
Update existing information
Expand your knowledge database
This helps keep your assistant accurate and up to date.
Assistant Responses
Inside Assistant Responses, you can:
Edit existing answers
Add new questions and answers
Delete outdated information
Improve response quality
We recommend reviewing your responses regularly as your services, pricing, and policies evolve.
Connect Your Favorite Tools
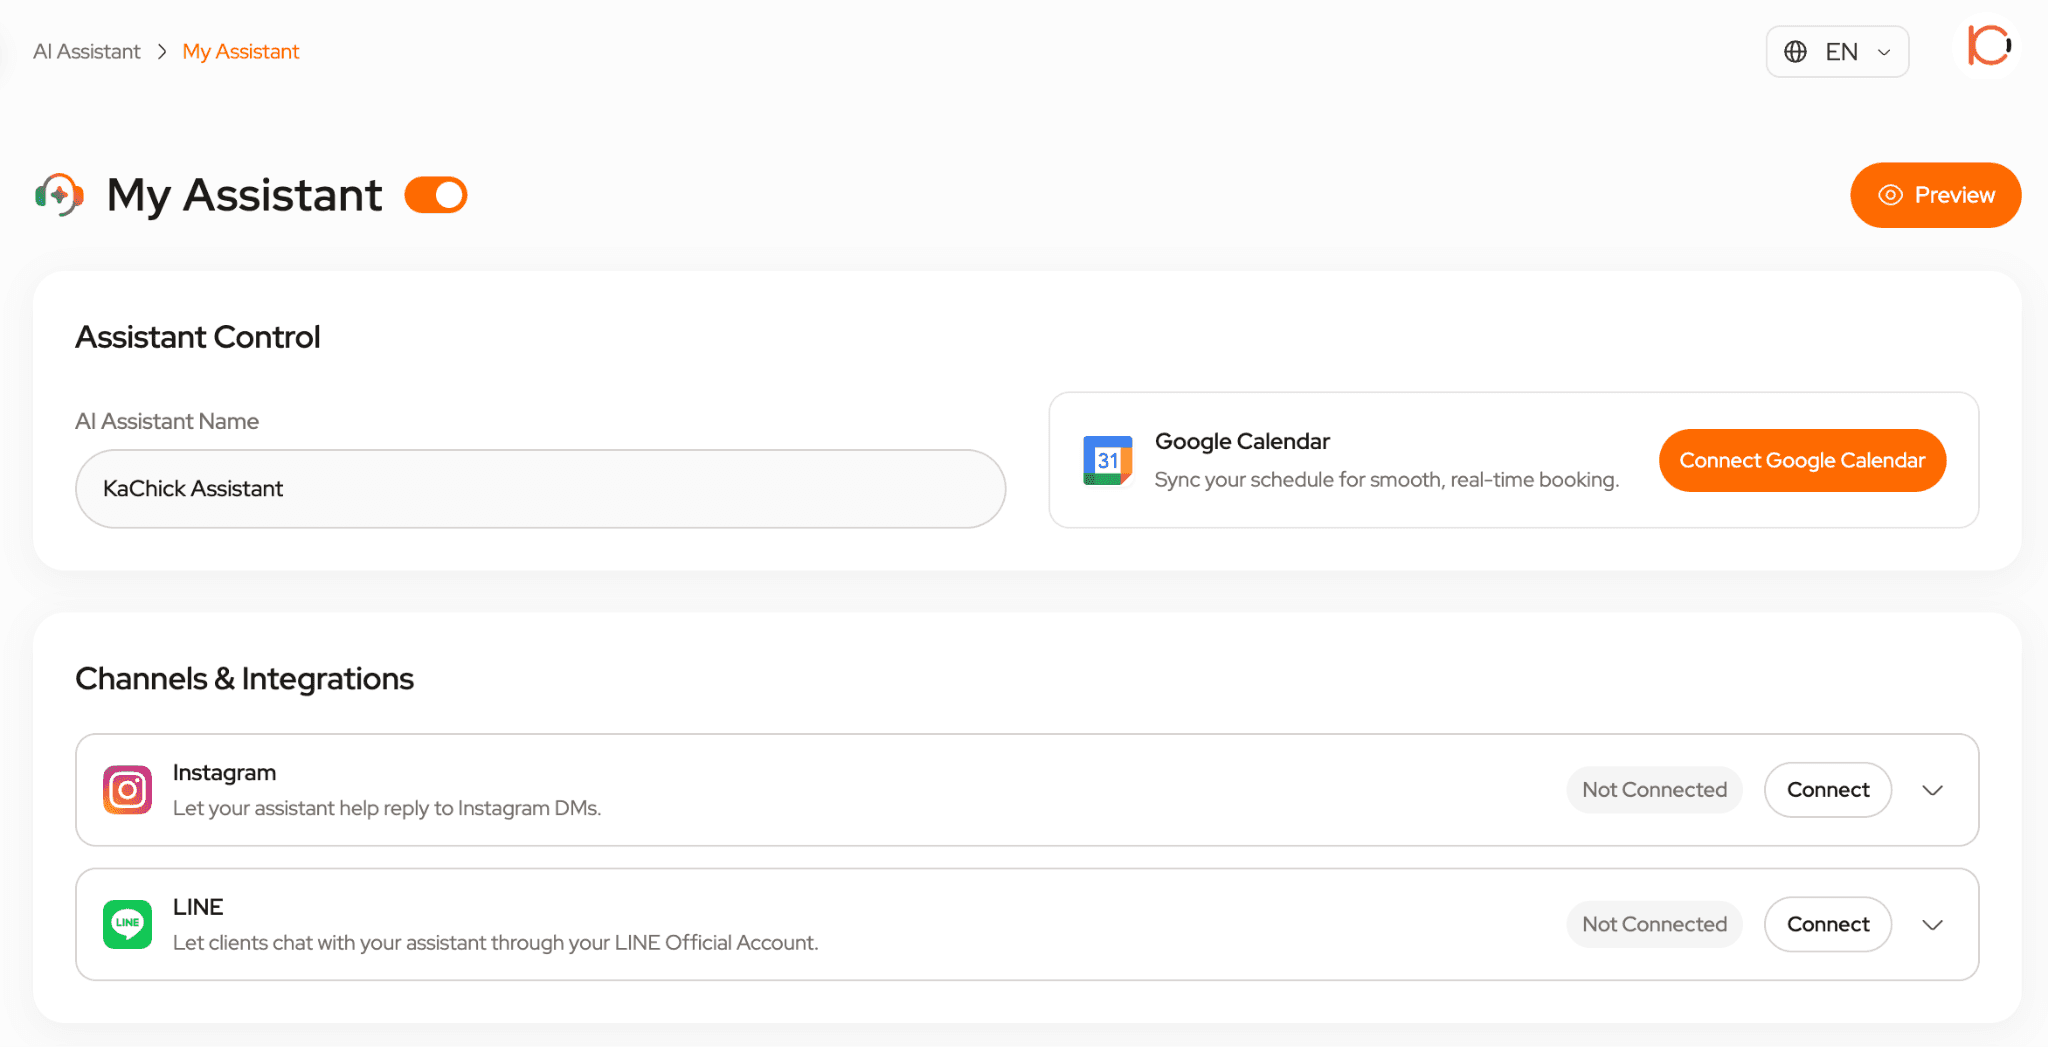
KaChick also supports integrations that can enhance your assistant's capabilities.
Google Calendar
Connect Google Calendar to help manage availability and scheduling information.
Connect Instagram to support client communication and enquiries.
LINE
Connect LINE to allow clients to interact with your assistant through one of Asia's most popular messaging platforms.
Detailed setup guides for each integration are available separately.
Tips for Better Results
To get the most out of your AI Assistant:
Keep pricing information updated
Upload detailed service information
Add frequently asked questions from real clients
Include location recommendations
Review responses regularly
Test your assistant periodically
Update information whenever packages or policies change
Remember: your AI Assistant is only as helpful as the information you provide.
The more knowledge you add, the better it can support your clients.
What's Next?
Now that your assistant is set up, you can make it even more powerful by connecting additional tools. These integrations help your assistant become an even more valuable resource for your clients.
Want to spend less time answering repetitive questions and more time behind the camera? Sign up for KaChick and create an AI assistant trained on your photography business today.


